Large Format Printing Services

The Bolton Library thanks Dr. Harold Langford and the Department of Business Administration for supporting this service.


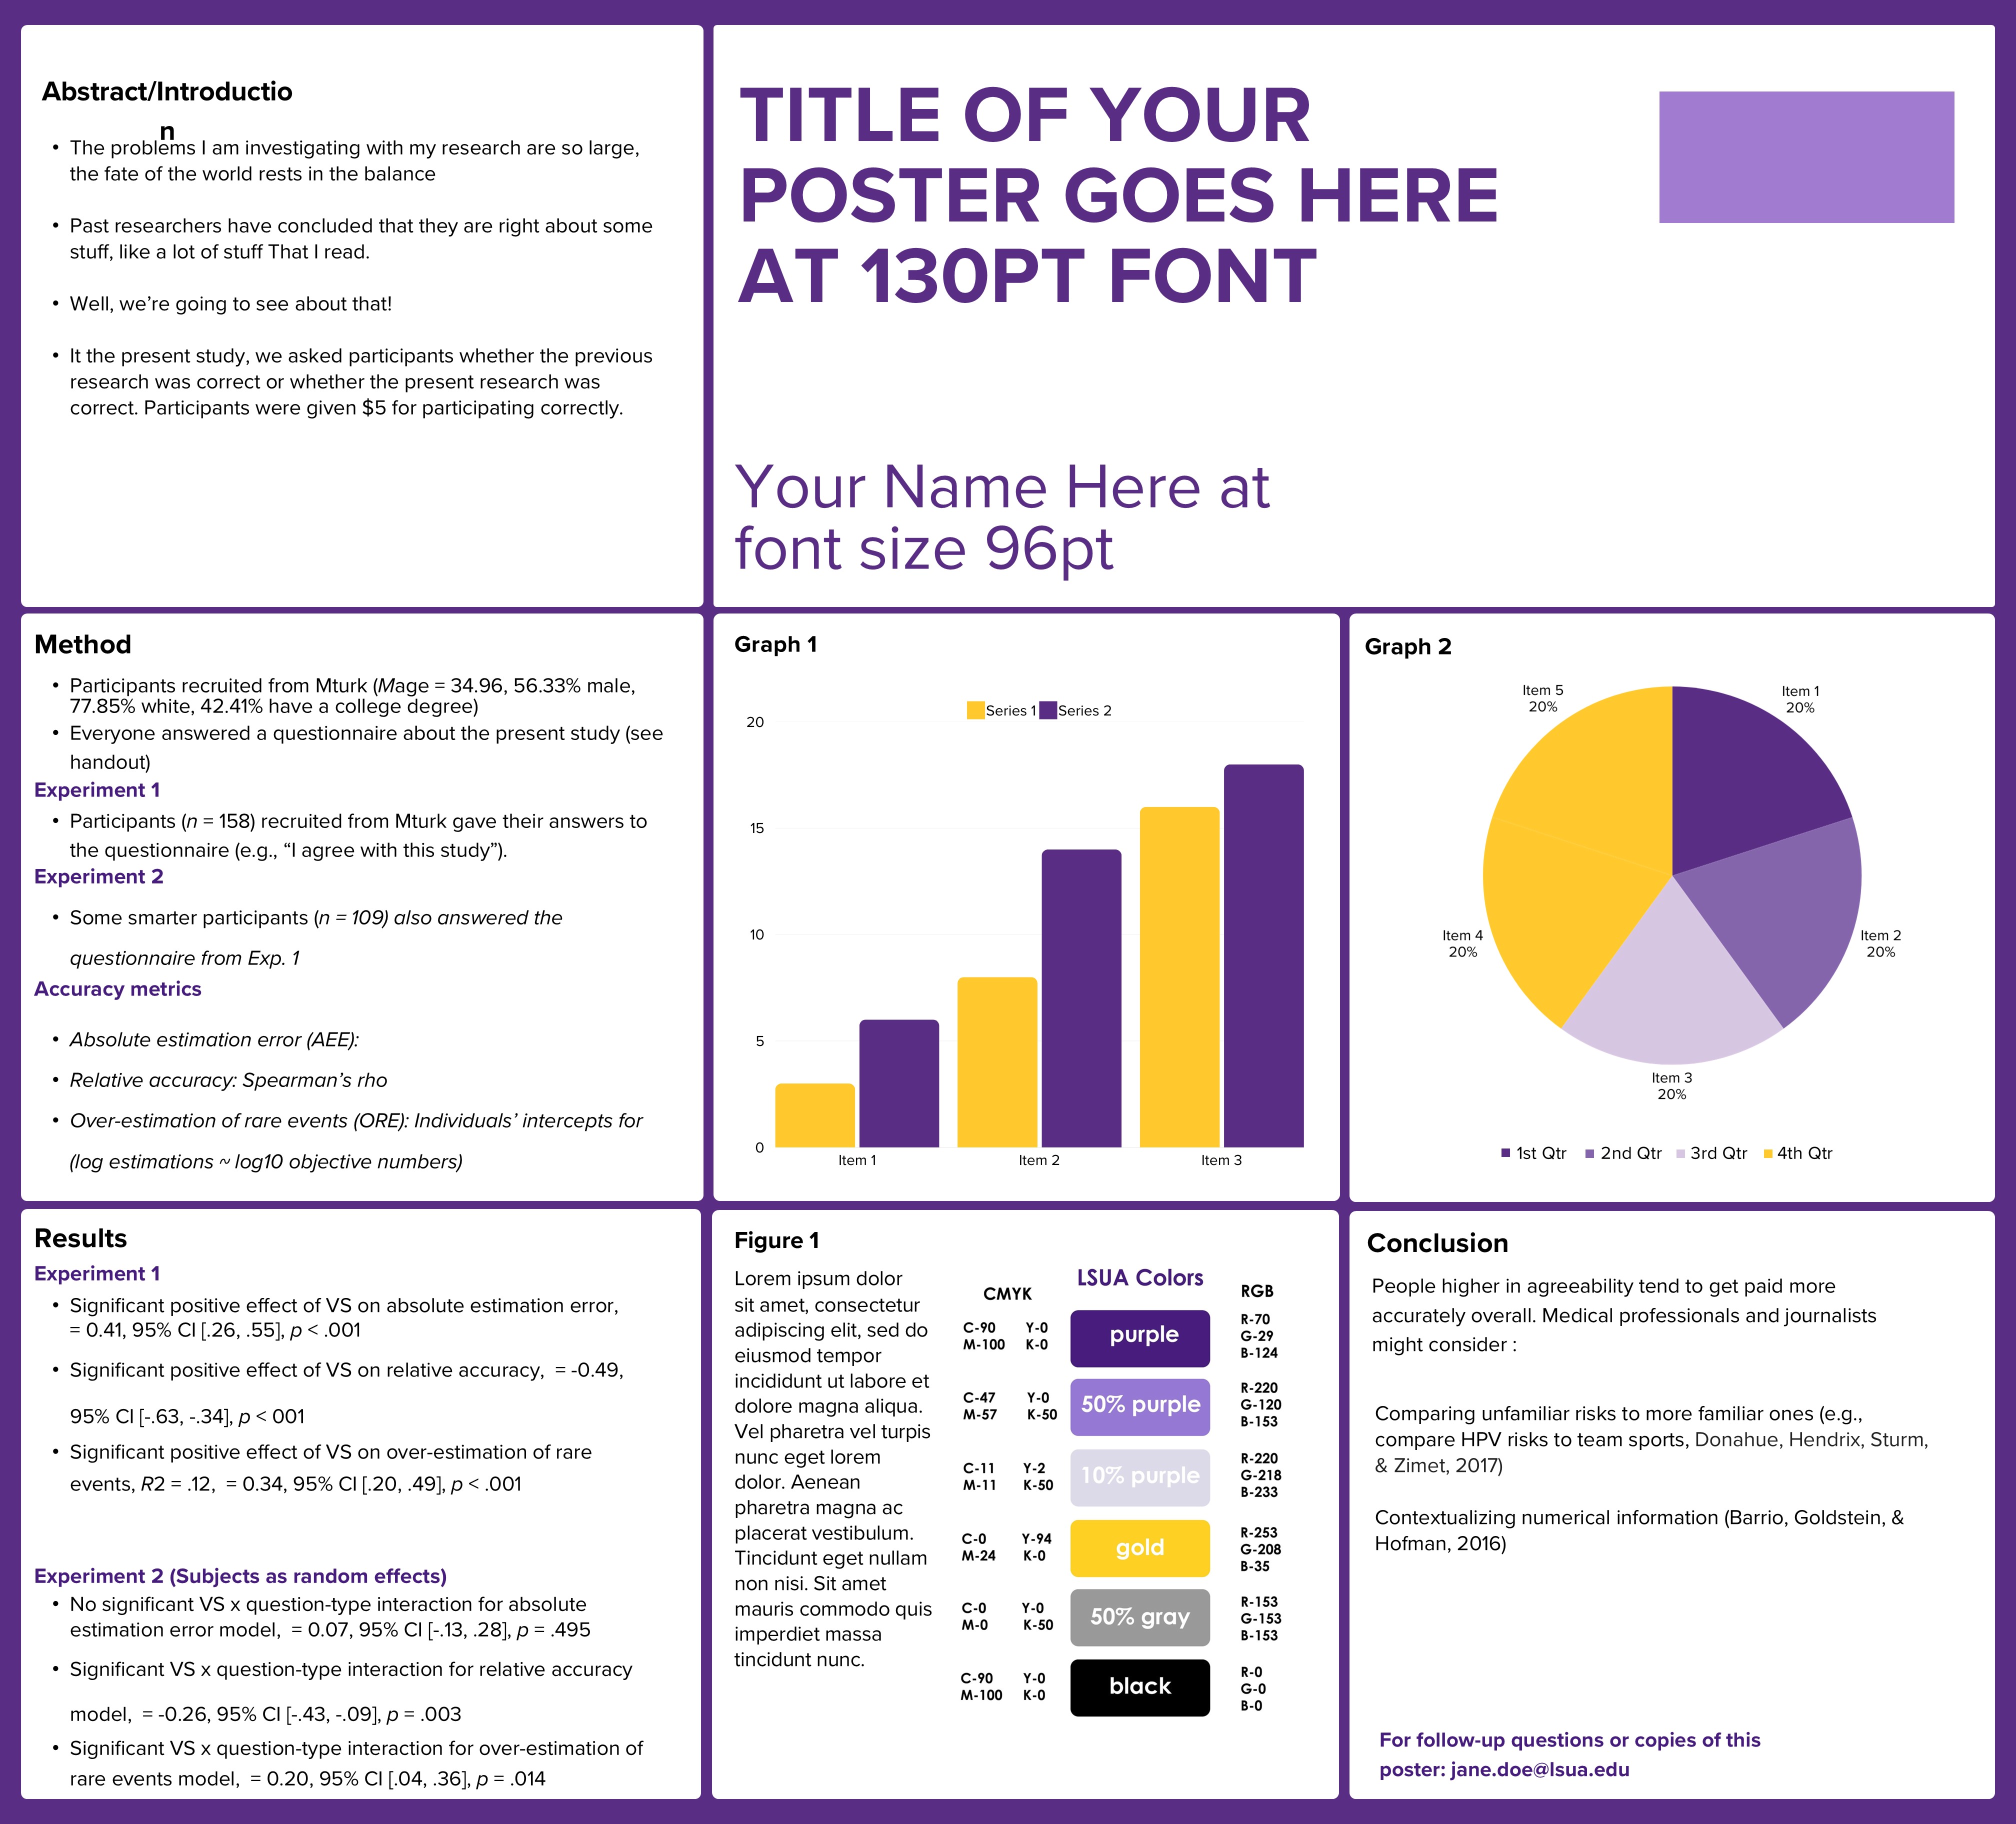
Scholar Day Poster Template 01

Download 01

May need to use Firefox or Safari to download

Poster_template_45x41_01


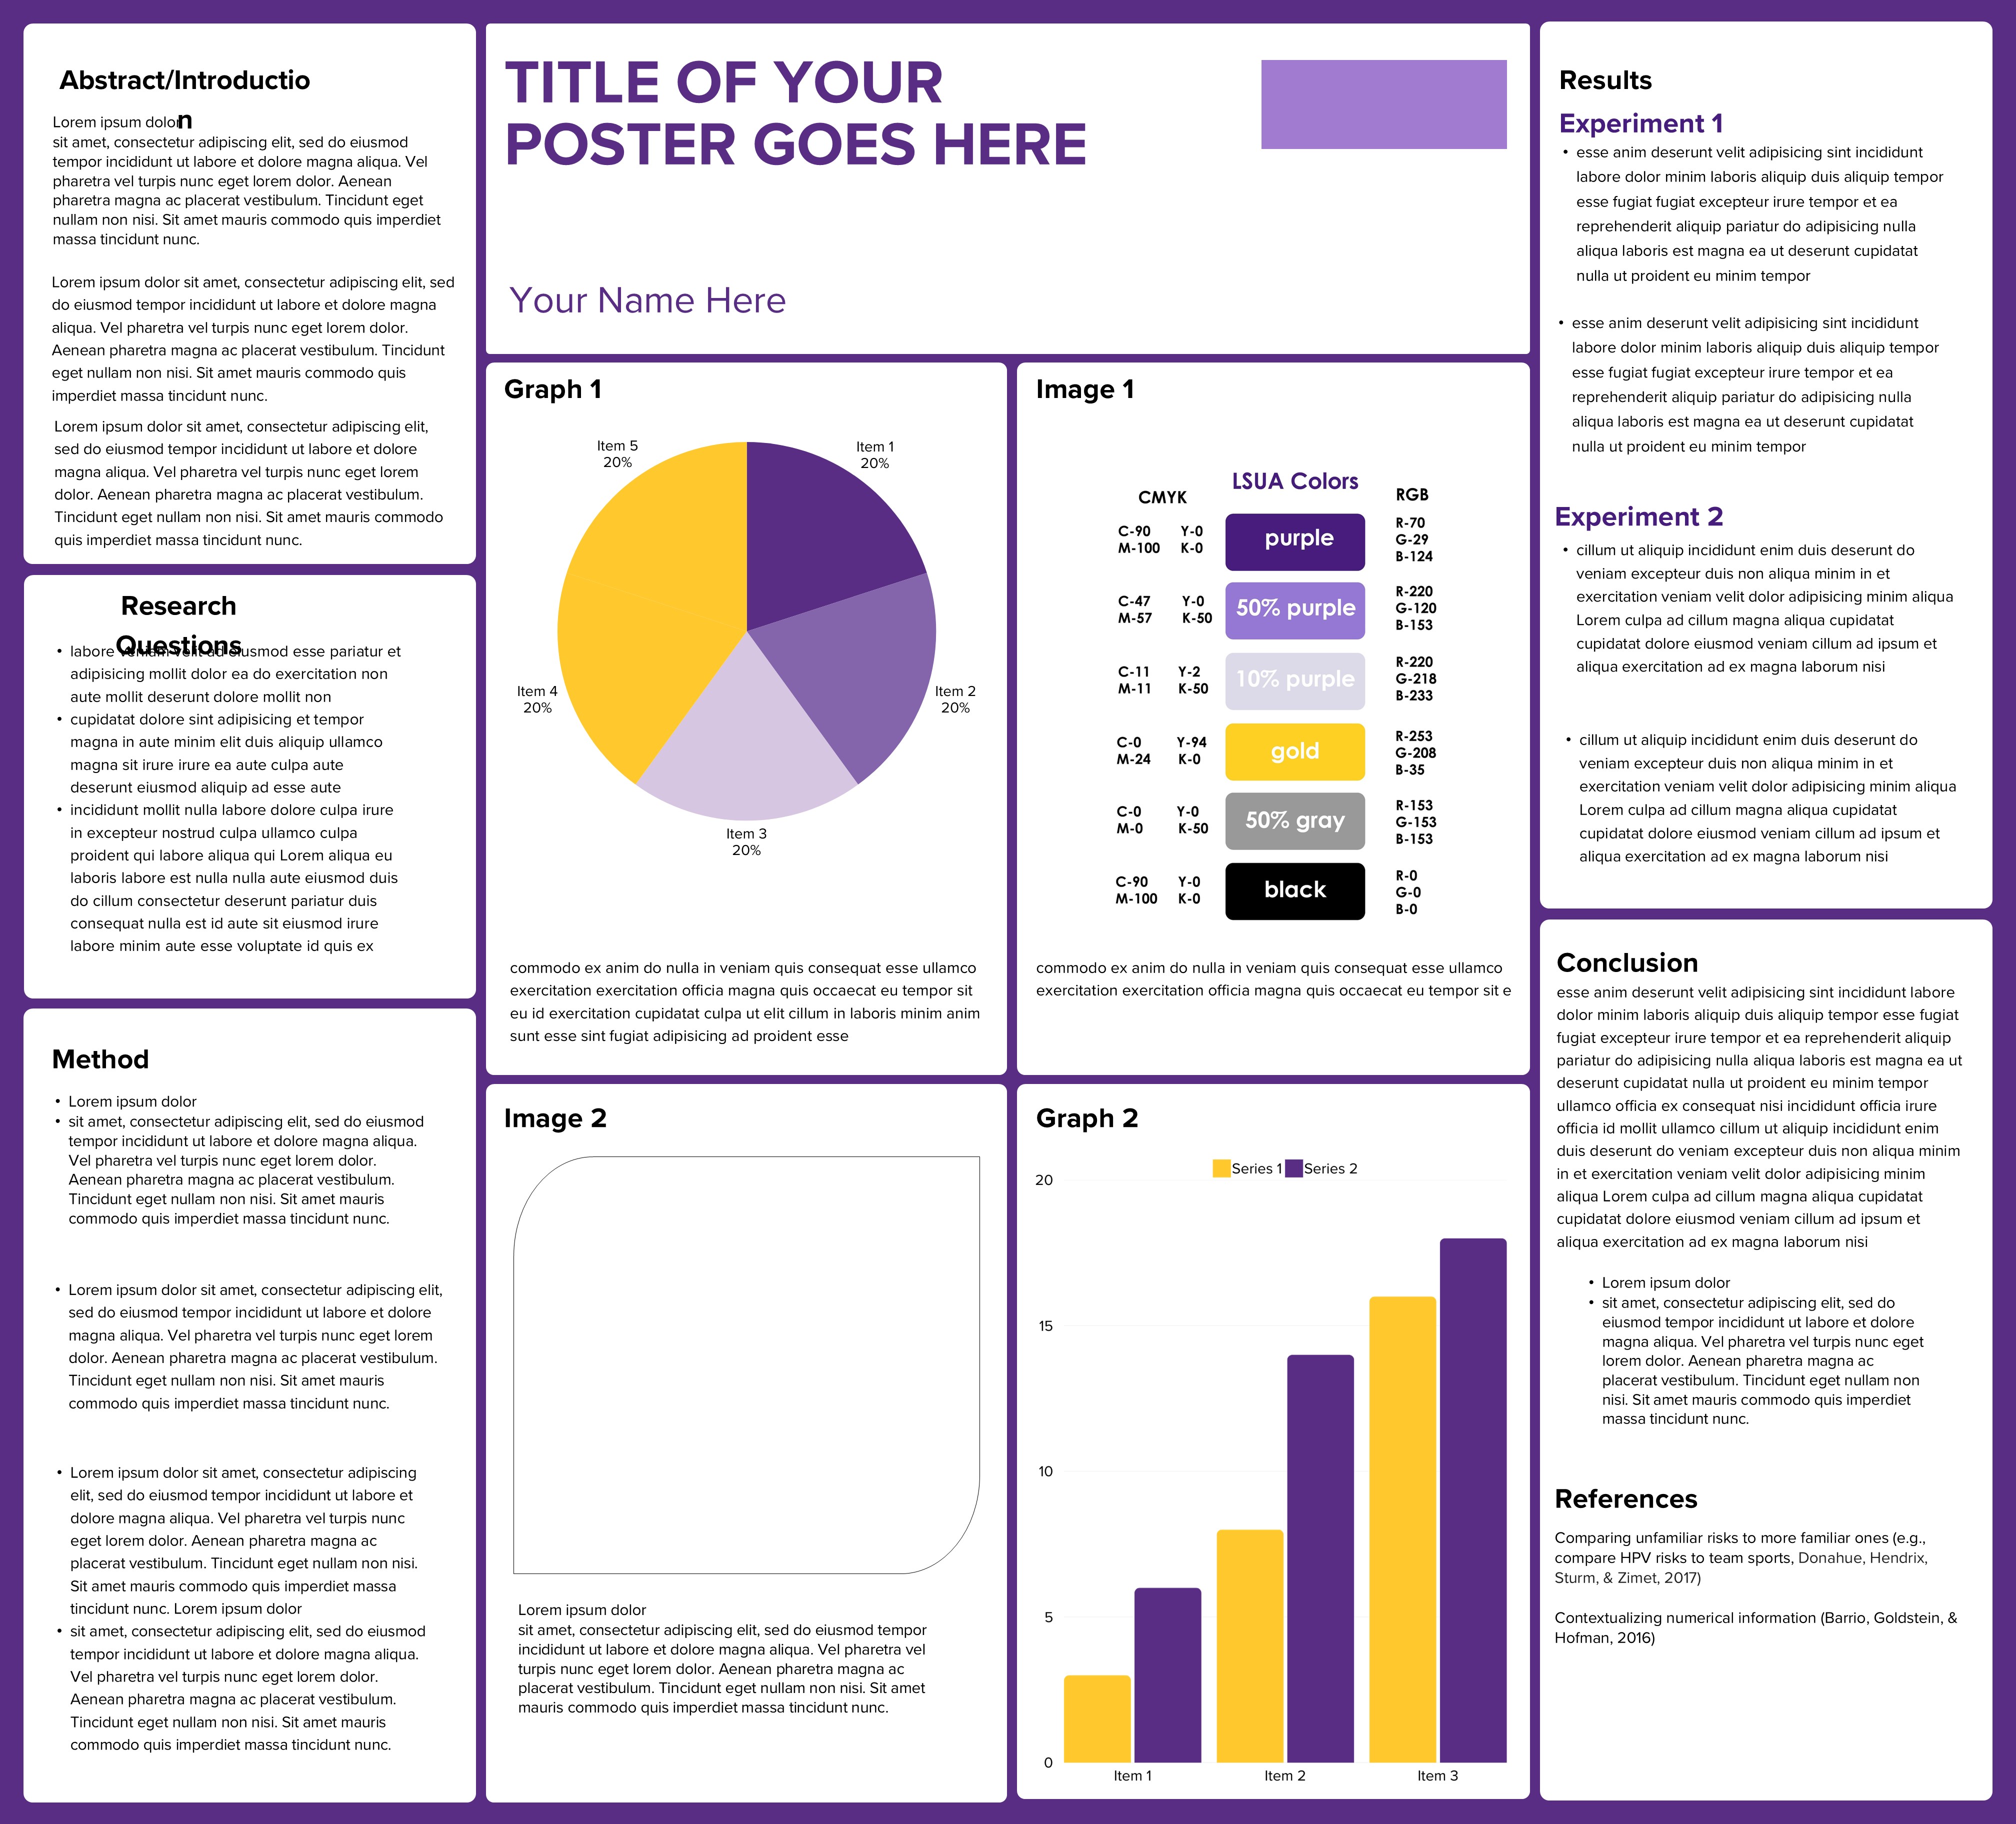
Scholar Day Poster Template 02

Download 02

May need to use Firefox or Safari to download

Poster_template_45x41_02


Trifold Board Poster Template 03

Download 03

May need to use Firefox or Safari to download

Poster_template_47x35_01


Policies

Print requests will only be accepted from faculty, students, and staff

Note

Currently, the Bolton Library has 1 paper roll size: 42 inches. Files in which both the height and width dimensions are larger than 41 inches cannot be readily printed.

Copyright

Copyright compliance is the responsibility of the user. The Bolton Library staff reserves the right to refuse to accept any printing request if, in its judgment, fulfillment of the order would involve violation of copyright law.

Turnaround Time

Printing submissions have a turnaround time of at least 2 business days. During times of heavy request volume, we prioritize printing for student and faculty academic poster sessions. Due to this prioritization, turn-around time for requests for promotional or personal purposes may take longer than 2 days. Submissions of 5 or more prints at one time by the same individual may take longer than 2 days.

Large Format Printing Prices

$0.60 per linear inch (8 mil satin photo paper). A typical Scholar Day poster will cost $30.

*All prices are approximate and subject to change. Final charge will be confirmed for each print request before the job is submitted for completion. These charges pay for the materials needed (paper and ink) and allow the library to continue to offer the service.

Scholar Day Poster Setup & Design

Scholar Day presentation posters, unless otherwise directed, should be no larger than 41” × 45”.

Print Proofing

The Bolton Library is not responsible for proofing posters before they are printed. To ensure your poster has no spelling or grammar errors, prufreed and proofread again!


Academic Poster Creation and Design

click here to Download Creation Guide


Poster Size and Setup

Poster will be created as a single, large slide in PowerPoint (PP). Before starting this process it is a good idea to use a template or planning sheet to design your poster. It is also important to set the slide size before you begin creating the poster. Otherwise, your poster may have quality/resolution issues.

 Note: The maximum custom slide size is 56” x 56” 

LPD_poster_size_setup1

  1. In PP, begin be selecting a Blank presentation
  2. Click the Design tab, and in the Customize group, click Slide Size > Custom Slide Size
  3. In the Slide Size dialogue box, under Slides sized for:, select Custom
  4. Specify sizes
  5. Width = 45 in
  6. Height = 41 in
  7. Under Orientation, specify Landscape > OK
  8. In the resulting dialogue box, select the Maximize option


Grids, Guides, Rulers

While working in PP, use the rulers, gridlines, and guides to position shapes and objects more accurately.

  1. On the View tab, in the Show group, toggle as needed Ruler, Gridlines, Guides
  2. For more options, click the dialogue box launcher
  3. In the Grid and Guides dialogue box, you can enable the Snap objects to grid option, set spacing measurements for the grid to ½”, under Grid settings, and display or hide drawing guides, under Guide settings

TIP: to temporarily override the Snap To feature while working with objects, hold down the ALT key while dragging the shape or object

LPD_GridGuide


Using Shapes as Templates/Guides

Consider using shapes to define the segments of PP poster. These shapes can be adjusted and/or edited as needed later.

  1. To draw shapes, click on the Insert tab, and in the Illustrations group, click on the Shapes button
  2. Select a shape (Rounded Rectangle is common for template blocking) and draw it onto the slide by clicking and dragging
  3. To access the Drawing Tools, click on the object/shape. The Drawing Tools tab will appear above the Format tab
  4. Drawing Tools allows you to customize shape lines, styles, fill (color), and effects. It is also within this ribbon that you can arrange your objects as layers and make alignment adjustments as needed
  5. Align your Shapes: Select the shape(s) (hold the Shift key down while selecting multiple objects), and from the Drawing Tools ribbon, in the Drawing group, click Arrange and view options to align and distribute objects evenly (e.g., Align Top and Distribute Horizontally). Using these Align tools will help you create a more professional-looking poster.


LPD_Using_shapes_temp1


NOTE: PP has very useful Smart Guides that appear as you move objects

It is recommended to leave at least one inch of space between segment blocks and to leave at lease ½ inch between stacked shapes (to create segment object border)

It is recommended to copy and paste your first complete segment block. This will preserve customized configurations while still allowing for resizing of the newly copied segment block.


Grouping Shapes & Objects

Grouping shapes, pictures, or other objects lets you flip, rotate, move, resize, or change the attributes of multiple shapes or objects at the same time as though they were a single shape or object.

  1. To group two or more objects, select the shapes or other objects. (Hold the Shift key down while selecting multiple objects.)
  2. Under Picture Tools or Drawing Tools (depending on what type of objects you have selected), on the Format tab, in the Arrange group, click Group, and then click Group. OR you can right- click on one of the selected objects and click Group > Group.
  3. To Ungroup, follow one of the procedures above, and click Ungroup.


Objects as Layers

PP allows you to work with layers—to bring objects, placeholders, or shapes to the front or send them to the back.


  • Right-click the object and select a menu option to move it to the front or back (Bring to front or Send to Back).
  • Similar operations can be handled in the Arrange group of the Drawing Tools, Format tab


Titles, Body Text, & Font Sizes

Title text needs to be in a font sized ≥ 72pt

Title text font should be clear and easy to read from a distance

Segment header text should be in a font sized 36pt – 66pt

Segment header font will be Times New Roman; may want to Bold to set apart

Body text needs to be in a font sized ≥ 27pt; usually 27pt – 44pt

Body text font will be Times New Roman

Do not use ALL CAPS for any text


Working with Text


To include text in your slide, you need to insert a Text Box and type text into the text box.

This will be a floating text box; you can move it anywhere you wish. (Remember, you can place text directly in your Shapes—simply right-click on the border of the shape and select Edit Text. But if you delete the Shapes, your text will also be deleted.)

To insert a text box, click the Insert tab, and in the Text group, click on Text Box.

Move your cursor to the desired location on the slide, and click and drag to create a text box. Note that the text box automatically resizes itself as you enter more text.

To change the font type, font size, font styles, font colors, etc., click the Home tab, and you will find options to change these properties in the Font group. You will need to highlight the text to apply these changes.

You can apply various effects and modifications to the text box and to the text by using the Drawing Tools. Click on a text box and the Drawing Tools tab will appear. Click on the Format tab (under the Drawing Tools contextual tab—shown below) and experiment with Shape Styles and other features of the Drawing Tools ribbon.


Background

PP gives you many background options. You may choose to use a color, a color gradient, a texture, or even a picture as the background for your poster.

  1. Select an area on the slide outside of any object
  2. Click on the Design tab, then in the Customize group, click Format Background to activate the Format Background pane (shown on right).
  3. Try out various options for Solid fill and Gradient fill (note color, transparency, and special gradient options).


TIPS:

For improved readability, use contrasting colors between foreground and background

Allow enough white space to keep poster from looking overloaded

Use the special effects in PP sparingly; some do not print correctly


Working with Images

To insert a picture, click the Insert tab, and in the Images group, click on the Pictures or Online Pictures button, and select an image from your computer or a clip art image online.

To resize the image, click on the image and use the corner handles to resize; using the corner handles will maintain the perspective of the picture.

A low resolution digital image does not have many pixels. You cannot add more pixels to an image file; when you enlarge a low resolution image file, the pixels are simply spread over a larger space, and the image loses quality.

Try to use images that are considered large format (at least 300 ppi)


Working with Graphs

 There are two basic methods for adding visual representations of your data:

First, you can use the Insert Chart function

  1. Choose Insert > Chart
  2. Select the type of chart that will best fit your needs (column, line, pie, etc.) and OK
  3. The chart object can then be resized and moved to fit layout needs
  4. Replace the sample data with your research data by using Edit Data in the Chart Tools Design menu

Second, you can create your graphs in Excel and then copy and paste them onto your poster slide.

  1. In Excel, create your graph. Right-click on the graph (the outside border to select all of it) and choose Copy.
  2. Return to PowerPoint and choose Edit > Paste. (The shortcut keys CTRL-C and CTRL-V work, too.)
  3. If you need to resize your graph in PowerPoint, select the graph and drag one of the corner handles (not the ones on the sides, top or bottom). Hold the Shift key down while resizing, to retain proportion.
  4. You will probably need to enlarge text elements of your graph. To do so, right click on each text element and enlarge the font size (24 is a readable size) in the dialogue box that appears.

TIP: If you change the relative height and width of your graph while resizing in PowerPoint, all text in the graph will be distorted. However, this will not happen in Excel. If you want to change the proportions of your graph, do it in Excel before inserting it in PowerPoint.


Save Slide

Once complete, save your work as two file types:

  • PowerPoint presentation (.pptx) – This will allow further editing
  • PDF (.pdf) – This is the file to be printed